Food Photography for Menus: A Guide for Restaurants
Good food photography for your menu starts with daylight and honesty, not expensive gear: shoot your real dishes by a window with your phone, keep the styling and editing consistent, and put photos on your best sellers first. Dishes with photos consistently outsell those without — and the whole setup costs little more than a free afternoon.
Key takeaways
- Dishes with photos outsell those without by a wide margin — one analysis of two million online orders found photographed dishes got roughly twice the orders and four times the reviews.
- Daylight beats equipment: a phone by a window outperforms a professional camera under bad ceiling light.
- You don't need a photo of every dish — 8–15 strong photos of your signatures and best margins cover a typical menu.
- Never use stock photos or misrepresent portions: guests who get something different from the picture leave the reviews that hurt most.
- Consistency is the brand: same table, same angles, one editing preset across the whole menu.
- Hire a pro for high-stakes moments (opening, rebrand, fine dining) — roughly €400–€900 for a half-day in the Nordics (estimate) — and DIY the everyday updates.
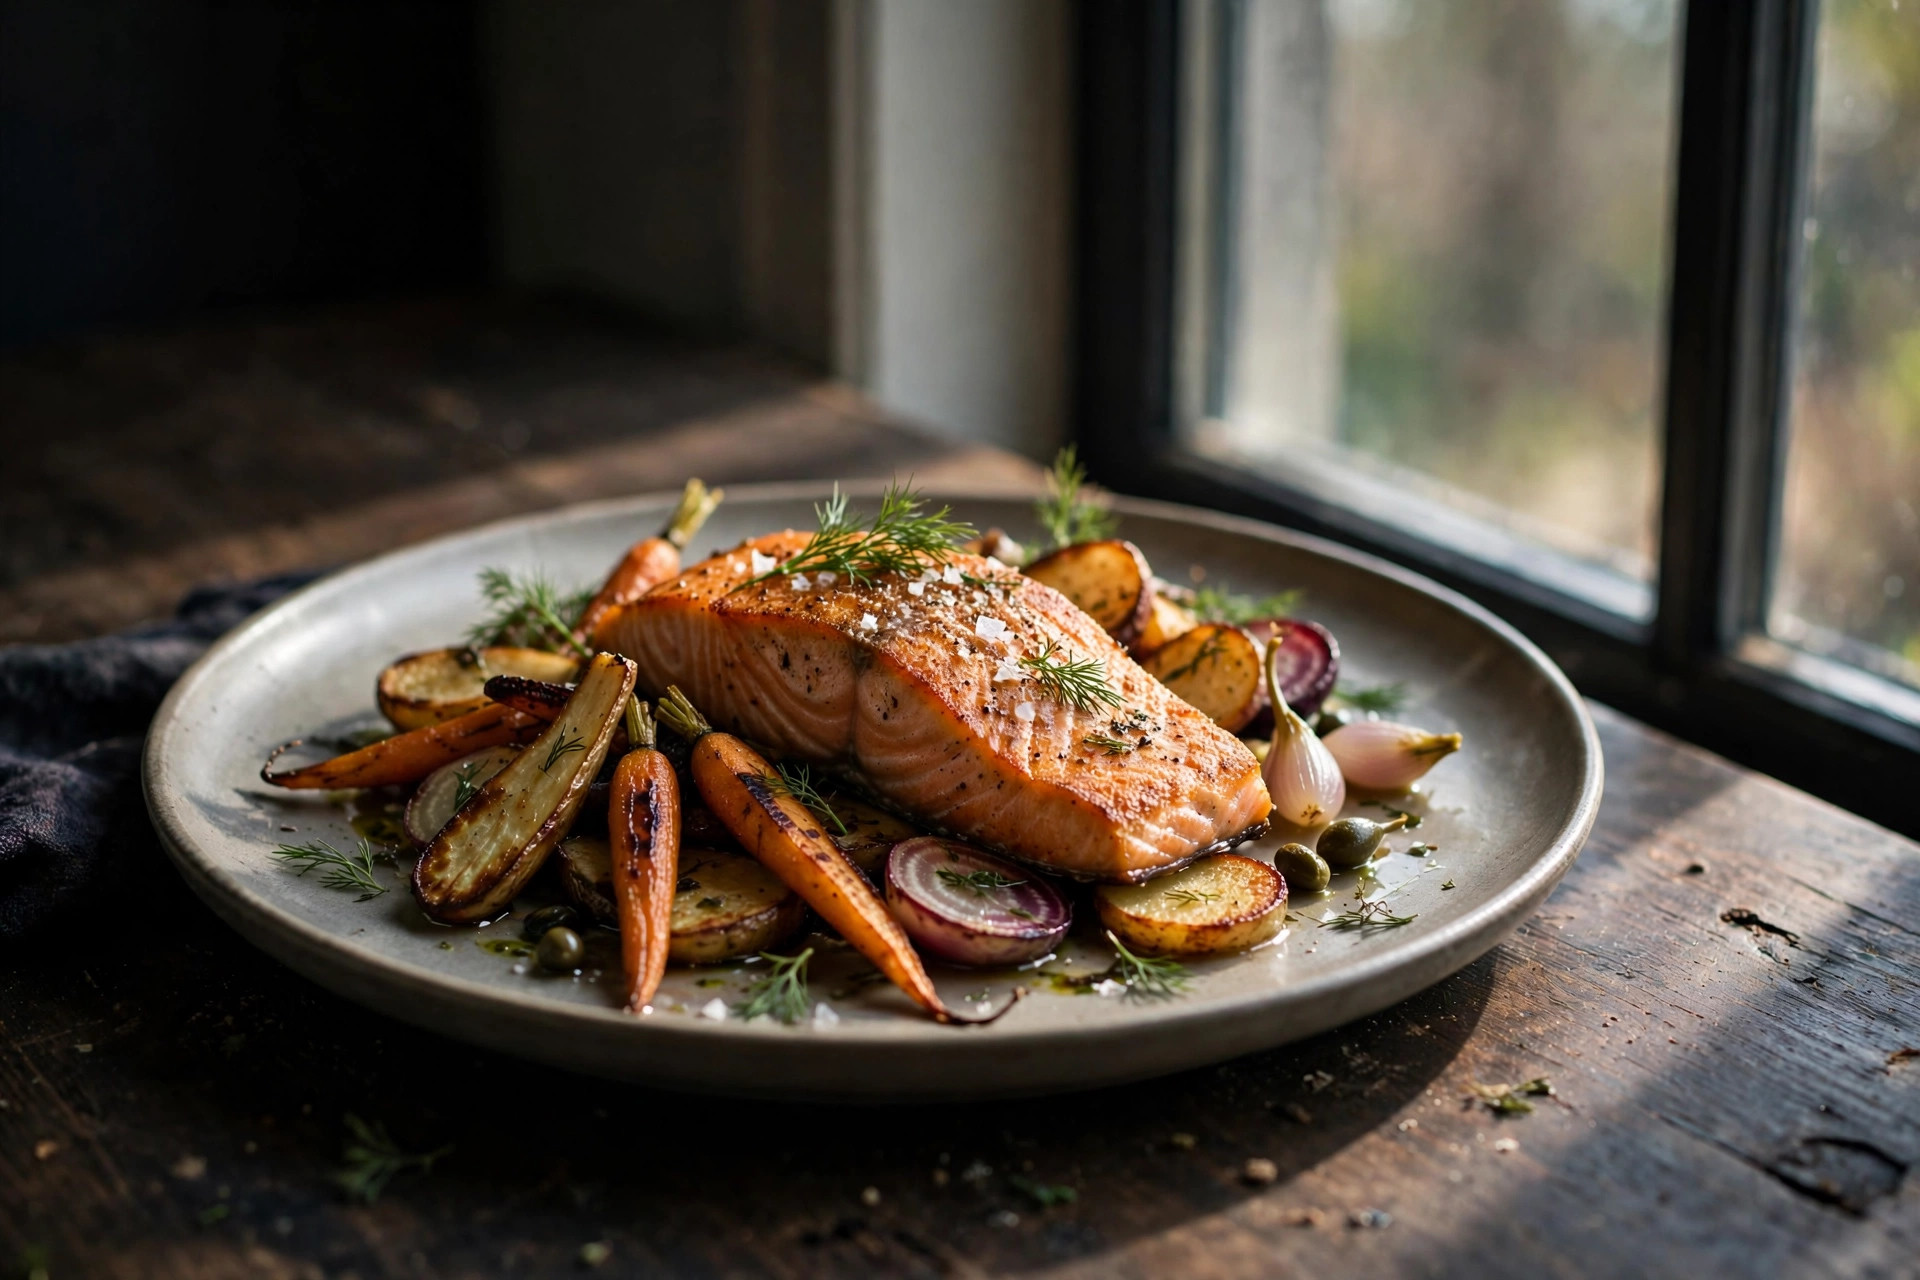
Guests eat with their eyes first, and these days they eat with their eyes on a phone screen long before they sit down. Your menu photos decide which dishes get ordered, whether a hesitant guest picks your restaurant at all, and how your Google listing looks next to the competitor's. This guide covers the full picture for restaurant owners: why photos move revenue, when your phone is enough and when it isn't, the exact DIY workflow, and what a professional shoot really costs in the Nordics. No studio required to start — just a window and an afternoon.
Why photos sell more food
A menu without photos asks the guest to imagine. A menu with good photos does the imagining for them — and imagination is what orders the dessert. This isn't folk wisdom; it's one of the best-measured effects in restaurant marketing. A widely cited analysis of over two million online food orders found that dishes with photos received roughly twice as many orders as dishes without, and collected about four times as many reviews. Separately, industry surveys have reported that around three quarters of diners say photos influence their choice, and that adding a photo to a menu item can lift its sales by several percent.
Photos also do quiet work beyond the menu. They make your Google Business Profile listing more clickable, they give social media something to share, and they set expectations — a guest who has seen the salmon arrives already wanting it. The effect compounds: photographed dishes get ordered more, get reviewed more, and reviews with photos attract the next guest. The restaurants winning the visual game aren't necessarily the ones with the best food. They're the ones whose food looks like the best food on a four-inch screen.
Where the biggest gains hide
The lift is not evenly spread. Photos pay off most on dishes guests are unsure about — the unfamiliar special, the pricier main, the dessert they weren't planning to order. Your plain margherita doesn't need selling; your €28 Arctic char with fennel pollen does. Prioritise photos where the decision is hardest: signatures, high-margin items, and anything new.
Guests eat with their eyes on a phone screen long before they sit down. Your photos decide the order before your staff say a word.
Should you shoot with your phone or hire a photographer?
This is the question every owner asks, and the honest answer is: it depends on the stakes. A modern phone in good light produces images that are genuinely menu-ready. A professional produces images that are consistently excellent across forty dishes, in any light, with styling that makes everything look like it belongs to one restaurant. Here's how the two options compare in practice:
| DIY with your phone | Professional photographer | |
|---|---|---|
| Typical cost | ~€0 (plus a €15–€40 tripod if you want one) | Roughly €400–€900 per half-day, or ~€50–€100 per finished image |
| Image quality | Very good in daylight; weaker in dim evening light | Consistently excellent in any light |
| Consistency across dishes | Up to you — easy to drift | Built into the process |
| Time cost | Your afternoon (2–4 hours for 10–15 dishes) | None of your time — a briefing and a shoot day |
| Styling | What you can manage yourself | Professional food styling included or available |
| Turnaround | Same day | Typically 1–2 weeks |
| Best for | Seasonal updates, specials, social media, starting out | Openings, rebrands, fine dining, the core menu library |
The combination most restaurants land on
The smart pattern is a hybrid: one professional shoot per year (or per major menu change) to build your core image library, plus DIY phone photos for everything that changes between shoots — seasonal specials, new desserts, lunch dishes. The pro shoot sets the visual standard; your phone keeps the menu current. This keeps costs predictable and your menu honest, because the photos always show what you're actually serving right now.
Light: the one rule that beats all the gear
If you take one thing from this guide, take this: light matters more than the camera, the lens, the styling and the editing combined. A €1,500 camera under yellow ceiling spots produces worse food photos than a three-year-old phone next to a window. Bad light makes food look grey, flat and tired; good light makes the same dish look like it costs twice as much.
Shoot in soft daylight
Set up a small table next to your biggest window and shoot there. The best light is bright but indirect — an overcast Nordic day is genuinely ideal, and direct harsh sun should be softened with a cheap diffuser or even a white curtain. Side light (window to the left or right of the dish) shows texture: the crispness of the skin, the gloss of the sauce. Avoid shooting under your restaurant's evening lighting; warm tungsten spots turn whites yellow and kill appetite appeal. And never use the phone's flash — it flattens everything and creates harsh hotspots.
The Nordic winter problem
In Helsinki, Stockholm or Oslo, December daylight is a rumour between 9:00 and 15:00. Plan shoots for midday, and for the dark months consider one affordable continuous LED panel with adjustable colour temperature (roughly €50–€120, estimate) — set it to daylight balance (~5500K), place it where the window would be, and diffuse it. It's the single best purchase a DIY food photographer in the Nordics can make.
The 60-second light checklist
- Table next to a window, flash off, overhead spots off or dimmed
- Light coming from the side, not from behind you
- White napkin or foam board on the shadow side to bounce light back in
- Clean the phone lens — a smudged lens is the most common cause of "bad camera" complaints
A repeatable setup for every dish
Guests notice inconsistency even if they can't name it: one photo bright and airy, the next dark and moody, a third with a different table. A menu that looks like one restaurant builds trust; a menu that looks like a collage of strangers' phones doesn't. The fix is a setup you repeat exactly for every dish.
Same table, same background, one or two angles
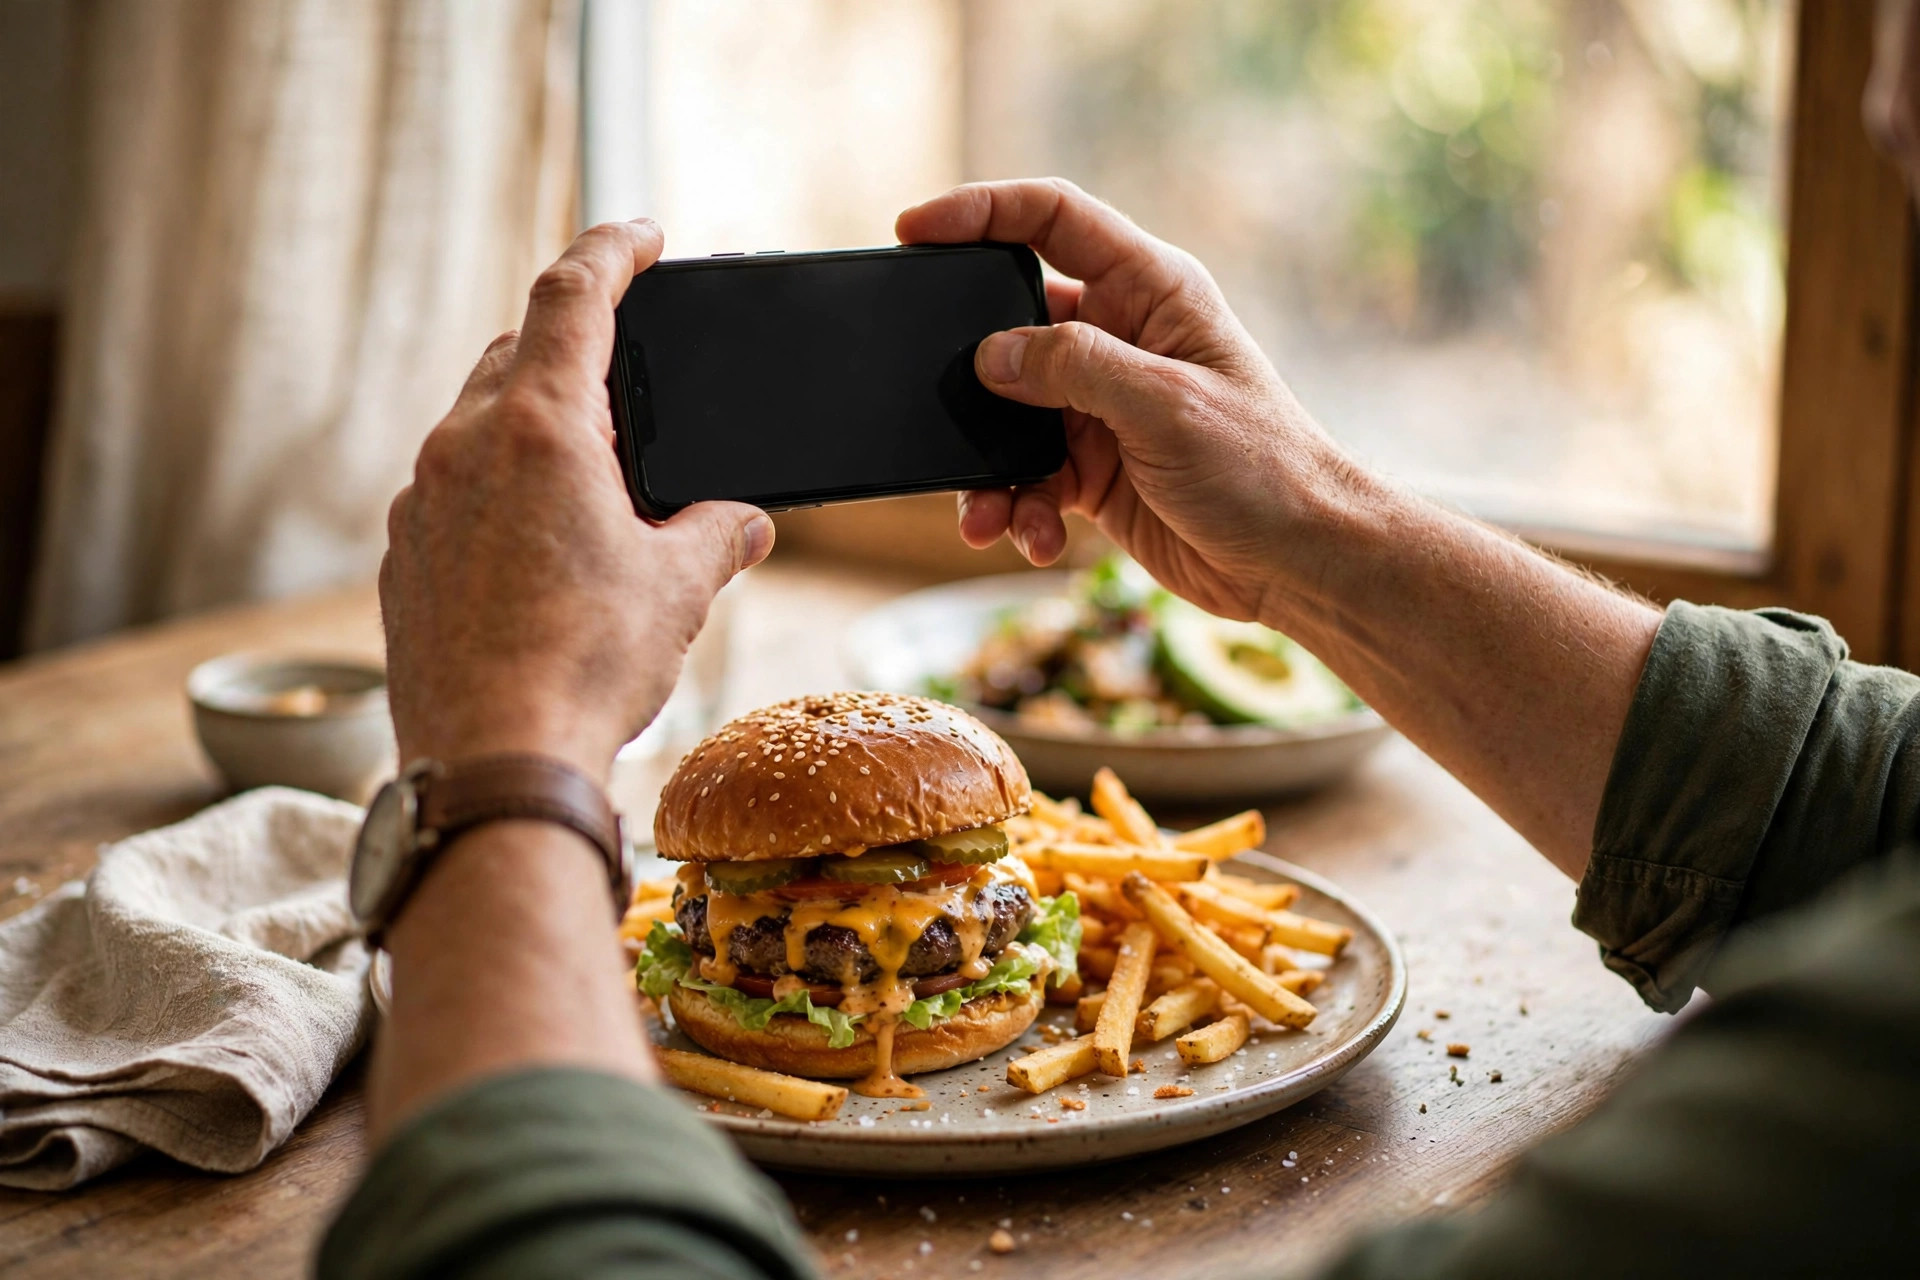
Pick one surface — your nicest wooden table, a neutral linen cloth, a plain dark board — and shoot every dish on it. Limit yourself to one or two angles: overhead (straight down) flatters bowls, pizzas, salads and anything with beautiful toppings; a 45-degree angle flatters burgers, stacked dishes and anything with height. Shoot both for your heroes, pick one for the rest. Frame a little loosely, leaving breathing room around the plate — tight crops can't be undone, but loose frames can be cropped for Instagram squares or story verticals later.
Lock focus, shoot plenty, review immediately
Tap the screen to lock focus on the hero of the dish and drag the exposure slider until the whites look white, not grey or blown out. Take five to ten shots per dish from slightly different positions — the best frame is rarely the first. Zoom in on the screen right away to check sharpness; discovering a blurry hero shot after the kitchen has moved on is the classic DIY heartbreak. A €15 phone tripod removes the last source of blur and frees your hands for styling tweaks between shots.
Styling that sells without lying
Food styling is the difference between "here's what we serve" and "you need this now." The good news: restaurant styling is simpler than magazine styling, because your constraint is also your advantage — the photo must show what the guest will actually receive.
Plate like it's Friday night
Style the dish exactly as your kitchen plates it at its best — the same portion, the same sides, the same garnish. Then add the small things that read as care: wipe the rim of the plate, add one fresh herb sprig, make sure the sauce drizzle is deliberate. Shoot the food immediately after plating; a burger photographed after five minutes under a heat lamp looks like a different, sadder burger. If you need a second take, have the kitchen fire a fresh plate rather than reheating the model.
Props are seasoning, not the meal
A linen napkin, a fork, a glass of water in soft focus — these tell the guest "this is a real meal in a real restaurant" and add depth. But every prop must be honest: don't photograph sides, drinks or garnishes that don't come with the dish unless the caption says so. The rule is simple and absolute: nothing in the photo that isn't on the plate the guest receives. Guests forgive an unstyled photo; they don't forgive a misleading one.
Editing: enhance, don't fake
Every professional food photo is edited. The goal of editing is to make the photo match what your eyes saw — phones tend to underexpose warm food scenes — not to create food that doesn't exist.
One preset, applied everywhere
Pick one editing preset (Snapseed, Lightroom Mobile and VSCO all have good free starting points) and apply it to every menu photo. The standard adjustments: lift the exposure slightly, correct the white balance so whites are neutral, add a touch of contrast and sharpness, and pull back any oversaturated colours. What to avoid: heavy filters that change the food's colour, skin-smoothing-style blur, and saturation cranked until the salmon glows. If the edited photo no longer looks like the dish, you've gone too far. Consistency across the menu matters more than perfection in any single shot — the preset is what makes ten separate shooting sessions look like one restaurant.
Name and size your files properly
Before uploading, export at a sensible web size (around 1600–2000 pixels on the long edge is plenty for menus) and give files descriptive names: "wood-fired-margherita.jpg" instead of "IMG_4829.jpg". It helps image search send you the occasional extra guest, and it makes your own media library manageable when the menu grows. Keep the full-resolution originals in a folder — you'll want them for print menus and press requests.
Edit to match what your eyes saw, not to invent what the kitchen didn't cook. Trust is the only filter that sells twice.
How many photos your menu actually needs
More is not better. A menu where every one of forty dishes has a photo looks like a delivery app catalogue and slows the page down; a menu with no photos looks unfinished. The sweet spot for a typical independent restaurant is 8–15 photos.
The priority order
Photograph in this order and stop when you run out of dishes that deserve it: first your 3–5 signature dishes (the ones you're known for), then your highest-margin mains, then seasonal specials and desserts. Starters can share one atmospheric section image; drinks get their own treatment in our drinks list guide. On the menu page, place each photo next to its dish — photos in a separate gallery get admired and forgotten, while photos next to the price get ordered.
Refresh on a rhythm
Food photos age: plating evolves, light changes, dishes get replaced. Review your menu photos quarterly alongside your menu update routine — reshoot anything that no longer matches the plate, and add photos for new signatures within their first month. A photo library that grows with the menu is an asset; a frozen one becomes a liability the day the kitchen changes the garnish.
Where to use your photos (beyond the menu)
A good dish photo is a multi-platform asset. Once you have it, deploy it everywhere a guest might meet your restaurant:
- Your menu page — next to the dish, as described above. This is the highest-value placement.
- Google Business Profile — the photo carousel on your listing and Maps. This is often the first impression, before your website.
- Delivery apps — if you're on food delivery platforms, their photo guidelines are strict (plain backgrounds, no text overlays); check the spec before uploading, and note that photographed items get ordered more there too.
- Social media — the same shoot gives you weeks of content; crop vertical for stories and reels covers.
- Print — table tents, the printed backup menu, local press. This is why you kept the full-resolution originals.
One caution: each platform compresses differently, so check how your photos look after upload — heavy compression can turn a crisp photo mushy, in which case a slightly higher export quality fixes it. Our mobile optimisation checklist covers image sizing for fast-loading pages, because a beautiful photo that takes six seconds to load is a photo nobody sees.
When hiring a photographer pays for itself
DIY covers the everyday. But some moments deserve a professional, because the photos will work for you for years across every channel at once.
The moments worth the invoice
Hire a pro when you're opening (first impressions are permanent), rebranding, launching a new concept, or running a fine-dining room where the visual standard is part of the product. Also consider it when your menu is large: shooting forty dishes yourself to a consistent standard is a multi-day project, while a photographer does it in one styled day. In the Nordics, expect roughly €400–€900 for a half-day shoot covering 10–20 dishes, or around €50–€100 per finished image — always get a written quote, because styling, props, usage rights and retouching move the number.
How to brief a food photographer
Send the shot list in advance: every dish, the angle you want, and 2–3 reference images of the look you're after. Agree in writing on the number of finished images, the turnaround time, and the usage rights — you want full commercial rights for web, social, print and delivery platforms, not a limited licence that expires. Ask for both high-resolution and web-sized files. And schedule the shoot on a closed day or a quiet morning: a photographer competing with lunch service gets neither good photos nor a happy kitchen.
Questions to ask before you book
- Can I see a full restaurant menu shoot, not just your five best portfolio shots?
- What's included: styling, props, retouching, and how many finished images?
- Do I get full commercial usage rights, and are web-sized versions included?
- What's the turnaround, and what happens if a dish needs reshooting?
Mistakes that make good food look bad
Almost every bad menu photo fails for one of these reasons. Check your shots against this list before they go live:
- Shooting under yellow ceiling light. The single most common failure. Move to the window or don't shoot.
- Using the flash. It flattens texture, creates glare on sauces and makes everything look like a crime scene photo.
- Stock photos. Guests can tell, and the mismatch with reality earns the reviews you least want. Photograph your own food.
- Dirty plates and cluttered backgrounds. Wipe the rim, clear the table. The eye goes to the mess before the food.
- Inconsistent styles. Five different tables, three filters and two aspect ratios make the menu feel chaotic. One setup, one preset.
- Photos that don't match the serving. Different portion, different sides, different garnish — the fastest route to "not as pictured" reviews.
- Forgetting the file basics. Uploading 8MB originals slows your menu page to a crawl; cryptic filenames waste the image-search opportunity.
Get the photography right and the rest of the menu does more work: our guide to menu pricing psychology shows how placement, descriptions and price presentation multiply what good photos start. And if your menu still lives on paper, start with moving it online step by step — photos on a proper menu page outperform photos trapped in a PDF by every measure. PowerfulWebsite builds restaurant websites where your dishes and their photos live as a real, searchable menu page — multilingual, with allergen marks and updates you make yourself in minutes.
Frequently asked questions
Do I need a professional photographer for my menu?
Not necessarily. A modern smartphone in good daylight can produce menu-ready photos for most casual restaurants, cafés and bars — the technique matters more than the camera. Hire a professional when the stakes are high: a new opening, a rebrand, fine dining, or when you need a large, consistent image library. Many restaurants sensibly combine DIY phone photos for everyday updates with a professional shoot once a year.
Can I take good menu photos with my phone?
Yes. Shoot in soft daylight near a window, turn off the flash, clean the lens, and use the angle that flatters the dish — overhead for bowls and pizzas, a 45-degree angle for burgers and stacked plates. Lock focus and exposure by tapping the screen, shoot several variants, and edit with one consistent preset. A phone on a small tripod by a window beats an expensive camera under yellow ceiling lights.
How much does food photography cost for a restaurant?
DIY costs almost nothing beyond your time and perhaps a €15–€40 tripod. A professional food photographer in the Nordics typically charges roughly €400–€900 for a half-day shoot covering 10–20 dishes, or roughly €50–€100 per finished image, depending on styling and usage rights (estimates — always get a written quote). Budget one professional shoot per year or per major menu change, and handle seasonal updates yourself.
Can I use stock photos on my restaurant menu?
You should not. Stock photos show someone else's food, and guests notice when the dish at the table doesn't match the picture — it is one of the fastest ways to earn a one-star review. Photograph your own dishes, plated exactly as your kitchen serves them. Honest, slightly imperfect photos of your real food build more trust than perfect photos of food you don't serve.
Should menu photos be portrait or landscape?
Shoot landscape (horizontal) as your master, because menu pages, Google Business Profiles and most websites display images horizontally. Keep some breathing room around the dish so the same photo can be cropped to square for Instagram or vertical for stories without cutting into the food. Taking a few extra seconds to frame loosely saves you from ugly crops on every platform.
Want a website where your food photos sell?
PowerfulWebsite builds your restaurant's website for free — you only pay from €59/month. Everything is included: a proper menu page that shows off your dishes, domain, hosting, maintenance and updates.
See the plans