Put Your Restaurant Menu Online: A Step-by-Step Guide
To put your restaurant menu online, publish it as a real, readable menu page on your own website — not a PDF — with dish names, descriptions, prices and allergen information as searchable text, then link it to a QR code on your tables and your Google Business Profile. The whole migration from paper takes a focused weekend, and the menu stays current from then on in minutes instead of print runs.
Key takeaways
- Your menu should be a real web page with searchable text — PDFs are hard to read on phones and nearly invisible to Google.
- You have three routes: a menu page on your own website (best), a QR-menu platform (fast stopgap), or a PDF (weakest option, avoid as the end goal).
- Start with an honest audit of your paper menu: cut dead dishes, fix prices and add the EU's 14-allergen information before anything goes online.
- A QR code on your tables should point at a stable web page, not a PDF file — then you never reprint the code when prices change.
- Put dish photos on your best sellers: one industry study of two million online orders found photographed dishes received twice as many orders.
- The ongoing cost is tiny — updates take minutes, and a menu page typically costs nothing beyond your existing website plan.

Most guests decide where to eat before they leave home, and the first thing they look for is your menu. If they find a phone-unfriendly PDF — or nothing at all — a surprising share simply pick the next place. This guide walks you through the whole move from paper to a proper online menu: which format to choose, how to prepare your menu, how to build it, how to connect it to your tables and Google, and how to keep it current without it becoming a second job. It is written for independent restaurant, café and bar owners in the Nordics, where guests expect at least two languages, honest prices and clear allergen information — but the steps work anywhere.
Why a paper menu alone is losing you guests
A paper menu on your tables was enough when guests discovered you by walking past the door. Today the discovery happens on a phone, often while the guest is already hungry and comparing three or four places. If your menu is not readable on a phone screen in under five seconds, you are not in the comparison at all.
The most common halfway solution — uploading the paper menu as a PDF — solves almost nothing. PDFs are slow on weak mobile connections, require pinching and zooming to read, and cannot be searched or filtered. A frequently cited survey finding in the trade press puts the scale of the problem bluntly: roughly three in ten mobile visitors move on to another restaurant when all they find is a PDF menu. Even if the exact number varies by market, every owner can picture the behaviour: the guest opens the PDF, squints, gives up, taps back.
Search engines can't read what isn't text
There is a second, quieter loss. Google's crawlers read web pages the way a person reads a book: title, headings, paragraphs. A menu published as a PDF or as a flat image is effectively a sealed envelope — the crawler knows something is inside but cannot reliably read dish names, prices or descriptions. That means you don't rank for the searches your menu deserves: "vegetarian lunch menu Turku", "smoked salmon restaurant Oslo", "best pizza near me". Each of those searches has commercial intent, and right now the clicks go to whoever published their menu as real text.
AI assistants have made this starker. When a diner asks ChatGPT or Gemini "does this place have gluten-free pasta?", the assistant can only quote sources it can read. A menu in HTML with clear text gets cited; a menu in a PDF gets skipped. Our guide to digital menus for restaurants goes deeper into how search and AI assistants treat different menu formats.
Paper is slow and expensive to update
The third loss is operational. A price change on paper means a reprint run: design time, print cost, and the awkward weeks where the old menu with the old price is still in circulation. Restaurants with seasonal dishes, lunch specials or market-price fish feel this constantly. An online menu turns the same change into a two-minute edit that is live for every guest, everywhere, instantly.
Your menu is the most-visited page on your website and the page most likely to answer the exact question a hungry searcher is asking. Treat it like a product page, not an afterthought.
The three ways to put your menu online
There are three realistic routes, and they are not equal. Pick based on your budget and patience — but know what you're trading away.
Route 1: A menu page on your own website (recommended)
Your menu becomes a real page on your own domain — yourrestaurant.com/menu — built as readable text with photos, allergen marks and prices. You control the design, the URL never changes, Google indexes it, and updates take minutes. This is the only route that builds long-term value: every search for your dishes strengthens your domain, not someone else's. If you have a website at all, this is where the menu belongs.
Route 2: A QR-menu platform (fast, rented)
Services like MenuMate, Restsify or MenuHoster let you type in your dishes and get a hosted digital menu plus a QR code in an afternoon, often starting on a free plan. The trade-off: your menu lives on their domain, the design is templated, and the free tiers may carry branding or limits. This is an excellent stopgap while your own website is being built — and for some very small operations it's enough permanently. Just be aware that the SEO value flows to the platform, not to you.
Route 3: A PDF on your website (better than nothing)
Uploading your print-ready PDF to your site takes five minutes, and it does beat having no menu online at all. But it inherits every weakness described above: unreadable on phones, invisible to search, painful to update. Treat a PDF as a temporary bridge, never the destination.
| Menu page on your website | QR-menu platform | PDF upload | |
|---|---|---|---|
| Readable on phones | Excellent — responsive by design | Good — mobile-first templates | Poor — pinch and zoom |
| Google visibility | Full — your dishes rank on your domain | Little — traffic goes to the platform | Near zero |
| Updating a price | Minutes, by you | Minutes, by you | Re-export, re-upload, replace file |
| Allergen filtering / search | Yes | Usually yes | No |
| Multilingual versions | Full control | Varies by platform | One PDF per language, maintained separately |
| Typical cost (estimate) | €0 extra beyond your website plan | €0–€30/month | €0 |
| Setup time | A weekend | An afternoon | Minutes |
Step 1: Audit and clean your paper menu
Before typing a single dish into a computer, do the uncomfortable work: read your current menu like a stranger would. Owners are blind to their own menus — you know that "the house special" means the reindeer stew, but a first-time guest doesn't.
Cut what doesn't earn its place
Pull your sales data or just ask the kitchen: which dishes sell fewer than a handful of times a week? Every dead dish is dead weight — it lengthens the menu, dilutes your identity and doubles your update work in every language. A focused menu of 15–25 items photographs better, reads better on a phone, and is cheaper to keep current. Be ruthless; you can always bring a dish back as a seasonal special, which reads as a feature online rather than clutter.
Fix prices, names and descriptions now
Your online menu will outlive your current price list, so reconcile them before you publish. Check every price against your POS, rewrite vague dish names into something a search engine understands ("Grilled salmon with dill potatoes" beats "Fisherman's delight"), and write one-sentence descriptions that name the main ingredients. This is also the moment to decide your languages: in the Nordics, plan for your local language plus English from day one. Tourists and expats are a real share of covers in Helsinki, Stockholm and Oslo, and an English menu costs you one extra column of typing, not a second project.
What to prepare before you build
- The final dish list: names, one-line descriptions, prices, section order
- Allergen information for every dish — the EU's 14 allergens, marked clearly (see our allergen labelling guide)
- Translations for every dish name and description (at minimum local language + English)
- Your logo file and brand colours, so the online menu looks like your restaurant
- Opening hours and contact details — guests check these on the same visit as the menu
Step 2: Write every dish as real, searchable text
This is the step most people skip, and it's the one that decides whether the whole exercise pays off. Each dish must exist as actual text — dish name as a heading, description and price as text — not baked into an image or a PDF.
Structure dishes the way people search
Organise the menu into clear sections (Starters, Mains, Desserts, Drinks) with each dish as its own entry: name, description, price, allergen marks. Write dish names the way guests actually say them, and put the descriptive words in the description: "Wood-fired margherita — San Marzano tomato, fior di latte, basil, cold-pressed olive oil. €14.90." That single line does three jobs: it sells to the guest, it feeds Google the keywords "margherita", "wood-fired pizza", and it answers the AI assistant that gets asked "where can I get a margherita nearby?".
Add menu schema markup
If your menu lives on your own website, the page should carry schema.org structured data — specifically the Menu and MenuItem types. In plain terms, this is a small block of code that tells Google, in a language it is built to understand: "this is a restaurant, at this address, and these are its dishes with these prices." Search engines can then show your dishes directly in results, and AI assistants can quote them confidently. Any competent web setup in 2026 handles this for you — it's a checkbox, not a coding project — but verify it's there, because a menu page without structured data is leaving half the value on the table.
Handle allergens and dietary marks properly
EU rules require the 14 major allergens to be declared, and an online menu is the best place to do it well: clear symbols or text per dish, plus a filter or legend. This is also a business advantage, not just compliance — guests with allergies, and parents ordering for children with allergies, choose restaurants based on how clearly this information is presented. Don't hide it in a footnote-sized disclaimer; put it next to each dish where the decision is made.
A menu that only exists as a picture can do exactly one thing: sit there. A menu that exists as text can be searched, translated, read aloud, filtered by allergens and quoted by an AI assistant.
Step 3: Photograph your signature dishes
You don't need a photo of every dish. You need good photos of the dishes that sell the restaurant: your signatures, your best margins, and anything seasonal you're pushing. Industry research on millions of online orders has repeatedly found that dishes with photos dramatically outperform those without — one widely cited analysis of two million orders found photographed dishes received roughly twice as many orders and four times as many reviews. The photo doesn't have to be studio-grade; it has to be honest, well-lit and appetising.
The phone in your pocket is enough to start
Shoot in daylight near a window, turn off the flash, wipe the lens, and shoot from the angle that flatters the dish — overhead for bowls and pizzas, a 45-degree angle for burgers and stacked plates. Plate exactly what the kitchen actually serves, garnish and all, and never add sides to the photo that don't come with the dish. Guests who receive something that doesn't match the photo don't come back, and they leave reviews saying so. Our full guide to food photography for menus covers the whole DIY workflow: lighting, angles, styling, editing and the decision of when to hire a professional.
How many photos and where
Aim for 8–15 photos for a typical menu: your signatures and specials get individual shots, sections get one atmospheric image each. On the menu page, put a photo next to the dish it depicts, not in a decorative gallery three scrolls away. Name the image files sensibly ("grilled-salmon-dill-potatoes.jpg") — it helps Google Images send you the odd extra guest, and it costs nothing.
Step 4: Build the menu page (or platform profile)
With your content prepared, the build itself is the fast part. If you're on Route 1 — your own website — the work is: one page, your menu sections, your dishes, your photos, your prices, allergen marks, a language switcher, and the schema markup from Step 2. Most restaurant website setups let you type this in like a document; you don't need a designer for the first version. Keep the layout brutally simple on phones: section headings that stick while scrolling, large tap targets, prices aligned so they're easy to scan.
Design for the thumb, not the desktop
The majority of your menu views will happen on phones, often on the move. That means: no tiny text, no horizontal scrolling, no decorative fonts that look great in print and blurry on a screen. Test the page on your own phone before you announce it — open it the way a guest would, with one thumb, on a mediocre connection. If you have to zoom, it's not done.
If you're using a platform, set it up right
On a QR-menu platform the build is form-filling: categories, items, prices, photos, languages. Two things matter here that people forget. First, use your own branding — logo, colours, restaurant name prominent — so the page doesn't look like a generic template that could belong to anyone. Second, get your data export in order: know how you'd get your menu out of the platform if you later move to your own website. The platforms that make exporting easy are the ones worth trusting.
Step 5: Connect it to your tables, Google and printed backup
An online menu nobody can find is a tree falling in an empty forest. The launch work is unglamorous but decides everything: get the URL in front of guests and search engines.
QR codes on the tables
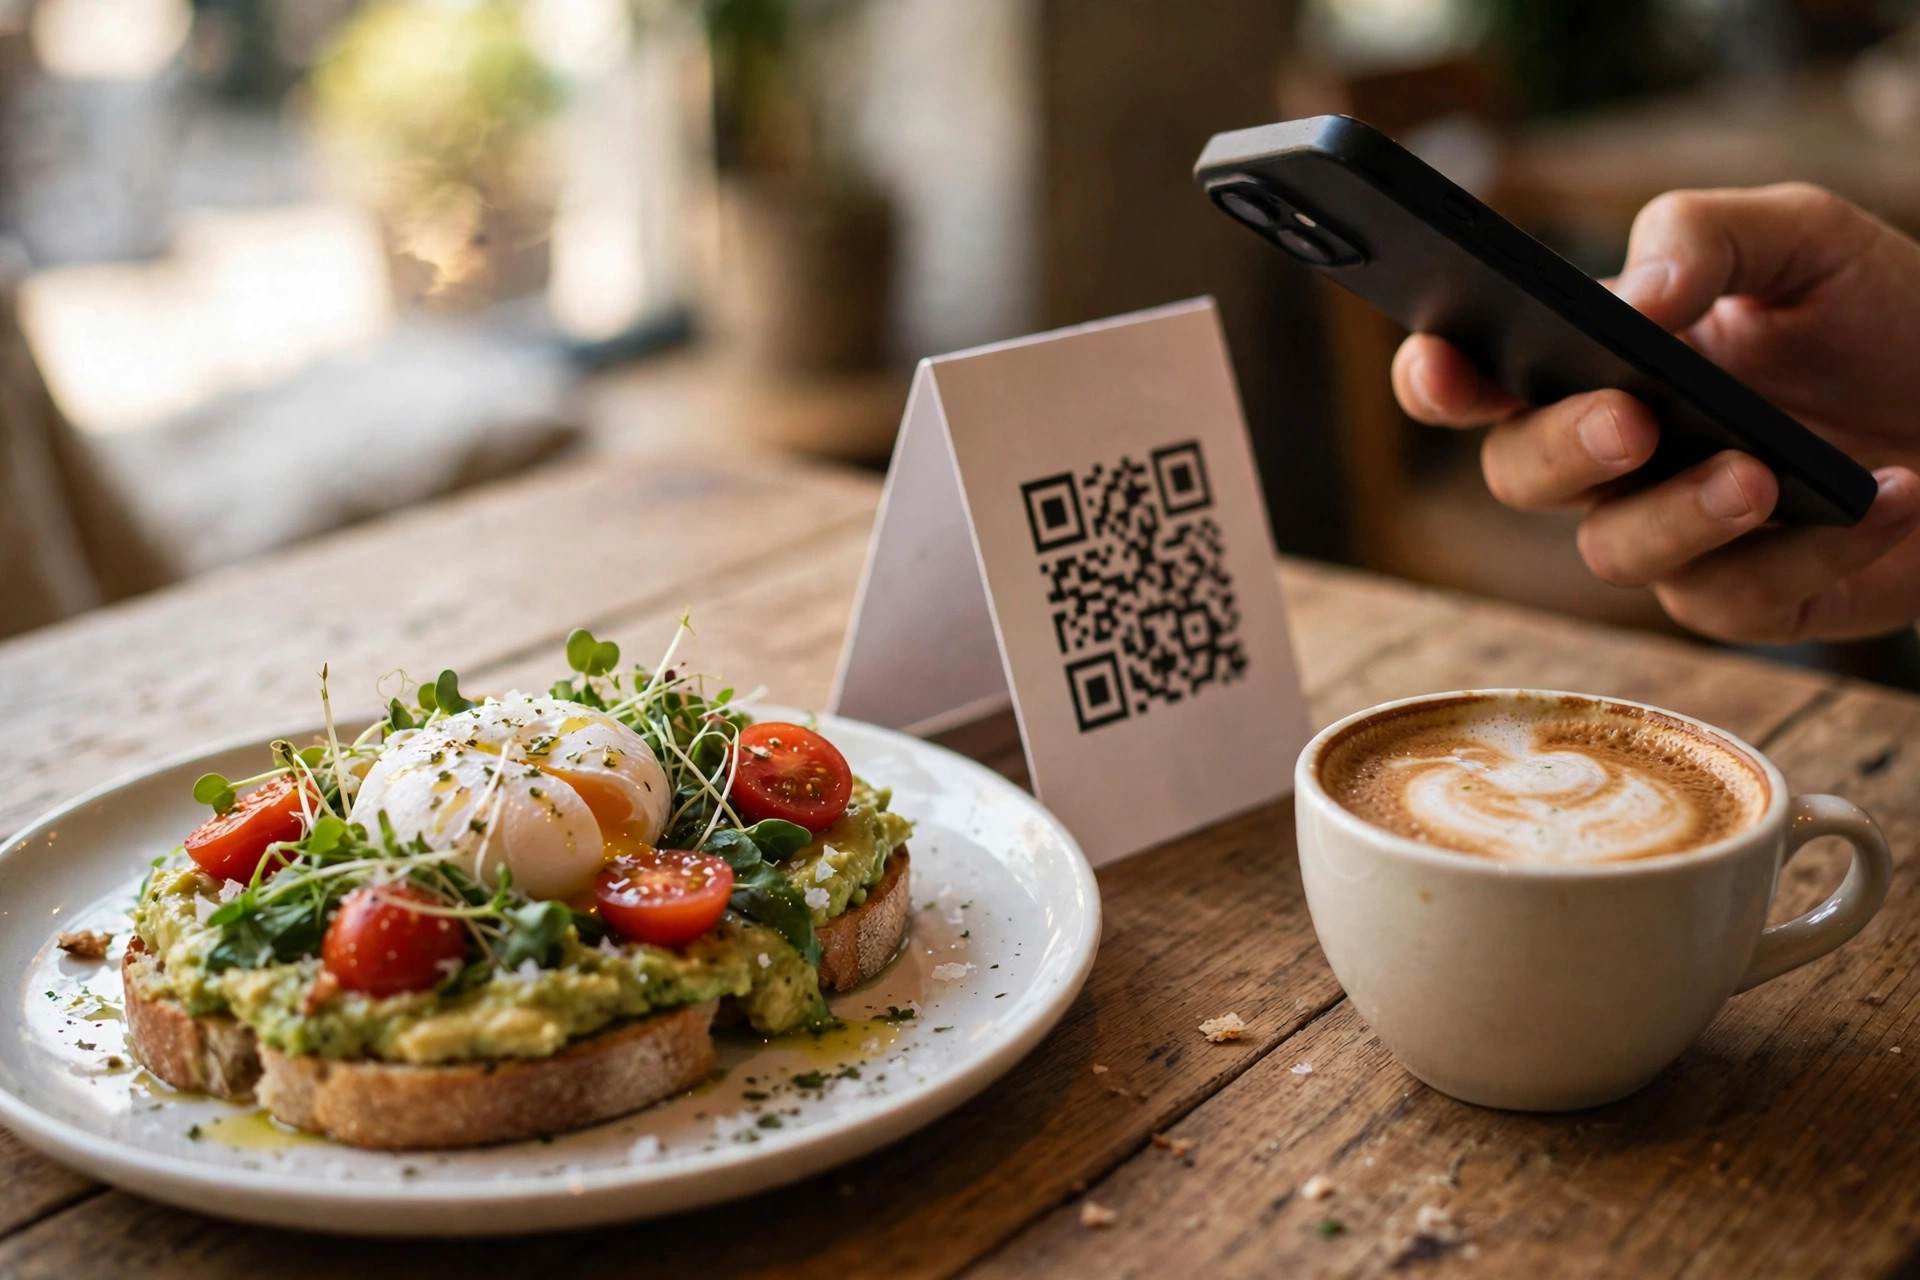
Generate a QR code that points at your menu page URL — use a free generator, no account needed — and print it on tent cards, table stickers or a small framed sign. The critical detail: the QR code points at the page URL (yourrestaurant.com/menu), not at a PDF file. When you later change a price, the page changes and the same printed QR keeps working. Print at a decent size (at least 3 × 3 cm of code, bigger in dim lighting) and test the scan from a normal seated distance before printing fifty of them. For the full setup, see our QR code menu guide.
Your Google Business Profile
Link the menu page as your "Menu" link in your Google Business Profile — this is the link Google shows next to your listing when someone searches your restaurant name. For many restaurants, the Google listing gets more views than the website itself, so this one link does outsized work. Also add your best dish photos to the profile; they appear in the photo carousel and in Maps.
Keep a paper backup
Digital-first doesn't mean digital-only. Keep a small stack of laminated printed menus at the host stand for guests without smartphones, guests with dead batteries, and anyone who simply prefers paper. An online menu with a paper fallback is the setup most guests are happiest with — and it costs almost nothing to maintain once the online version is the master copy you print from.
Step 6: Set an update workflow you'll actually follow
The graveyard of online menus is full of pages that were perfect on launch day and wrong six months later. An outdated online menu is worse than no online menu: it creates disappointed guests and bad reviews when the price at the table doesn't match the price on the phone. The fix is not willpower — it's a workflow so simple it survives busy weeks.
One owner, one rule, one rhythm
Assign one person as the menu owner — in a small restaurant, that's usually you or your manager. The rule: prices and availability change the day they change, no batching. The rhythm: a 15-minute quarterly review where you walk the online menu against the paper menu and the POS, checking prices, sold-out dishes, photos that no longer match the plating, and allergen info against current supplier specs. Seasonal menus and lunch specials can change weekly or even daily; the workflow is the same, just faster.
Our menu-updating workflow guide turns this into a printable checklist with responsibilities, timing and the common failure points — worth pinning next to the office computer.
The launch-weekend checklist
- Saturday morning: audit the paper menu, cut dead dishes, fix prices (2–3 hours)
- Saturday afternoon: write dish descriptions and allergen marks, start translations (2–3 hours)
- Sunday morning: photograph 8–15 signature dishes by the window (2 hours)
- Sunday afternoon: build the menu page, add schema, test on your phone (2–3 hours)
- Monday: print QR tent cards, link the menu in Google Business Profile, keep a paper backup stack
How much does putting your menu online cost?
Honestly? For most independent restaurants, the migration costs an intense weekend and almost no money. Here's the realistic breakdown:
The costs you actually face
A menu page on your own website typically adds nothing on top of your existing website subscription — it's just another page. All-inclusive restaurant website plans that include everything (domain, hosting, maintenance, updates) generally run from about €59 to €239 per month depending on the tier, and the menu page is included in all of them. If you go the QR-platform route instead, expect roughly €5–€30 per month for a paid plan (estimates — free tiers exist but often carry platform branding). QR codes themselves are free to generate; printing fifty decent tent cards costs roughly €20–€50 at a local print shop (estimate). If you'd rather not do it yourself, a freelancer typically charges a few hundred euros for a one-page menu build — get a fixed quote, not an hourly meter.
The costs of not doing it
The expensive option is the status quo. Every week with a PDF or paper-only menu, you pay in reprint runs, in guests who bounce to a competitor with a readable menu, and in search traffic your dishes never win. Put a number on one lost table a week and the "free" paper menu starts looking like the priciest option in the building. None of these are hard costs with invoices, but they are the costs that actually move your revenue.
The cheapest menu is the one you can update yourself in two minutes. Every price change that requires a designer, a printer or a developer is a tax on keeping your menu honest.
Mistakes that kill an online menu
Most failed online menus fail for the same handful of reasons. Run through this list before you call the project done:
- Publishing the PDF and calling it done. It's the most common "digital menu" in the wild and the weakest one. If your menu page is a file download, you haven't finished.
- Forgetting the second language. In the Nordics, an English version isn't a luxury — it's how you capture tourists, expats and business travellers. Publish both from day one; adding it later is twice the work.
- Photos that lie. Stock photos, or photos of dishes you no longer serve, create the single most damaging review a restaurant can get: "not as pictured." Every photo must show your actual food, plated the way your kitchen plates it.
- No prices — or "market price" everywhere. Guests read missing prices as expensive prices. Publish real prices; update them when they change. It's the entire point of the exercise.
- Hiding the allergens. Burying allergen info in a tiny footer, or leaving it off entirely, loses you the allergy-conscious guest — and their whole table, since groups pick restaurants everyone can eat at.
- Linking the QR to a file instead of a page. A QR pointing at menu-v3-final-FINAL.pdf breaks the moment you upload v4. Point it at the page URL and never think about it again.
- Launching and abandoning. A menu page is a living document. The quarterly 15-minute review from Step 6 is the difference between an asset and a liability.
If your drinks deserve the same treatment — and they do, because drinks carry your best margins — our guide to putting your drinks list online applies the same steps to wines, beers and cocktails. And if you're wondering how the menu page fits into the bigger picture of your site, PowerfulWebsite builds restaurant websites where the menu is a first-class citizen: real text, schema markup, multilingual from the start, and updates you can do yourself in minutes.
Frequently asked questions
Do I need a website to put my restaurant menu online?
No, but it is by far the best option. You can put a menu online through a QR-menu platform, a Google Business Profile post, or even social media — but only a menu page on your own website gives you full control, Google visibility, allergen filtering and updates in minutes. Menu platforms work as a stopgap; plan to move the menu to your own site when you can.
Is a PDF menu bad for my restaurant?
For guests it is one of the weakest options: PDFs are hard to read on phones, slow to load on weak connections, and awkward to update. For search engines they are nearly invisible — Google cannot reliably parse dish names, prices or descriptions out of a PDF, so you miss the searches your menu should win. A real text menu page is better in every way that matters.
How do I make a QR code menu for my tables?
First publish your menu as a real web page at a short, stable URL (for example yourwebsite.com/menu). Then generate a QR code pointing at that URL with any free QR generator, print it on a tent card or sticker, and place it on the tables. Because the QR points at a web page rather than a PDF file, you can change prices and dishes later without reprinting the code. Keep a small stack of printed menus as backup for guests without smartphones.
How much does it cost to put a restaurant menu online?
It can cost almost nothing. A menu page on your own website typically adds nothing beyond your existing website subscription — all-inclusive website plans for restaurants range from roughly €59 to €239 per month. Standalone digital-menu platforms are estimated at roughly €5–€30 per month. QR codes themselves are free to generate; printing tent cards costs roughly €20–€50 depending on quantity and quality (estimates).
How do I update my online menu when prices or dishes change?
Edit the menu page directly — on a proper website or menu platform this takes a few minutes, and the change is live immediately for everyone. Set a simple rule: prices are updated the day they change, the full menu is reviewed quarterly, and one person owns the task. See our guide to a menu-updating workflow for the checklist that makes this stick.
Want a website with a menu that sells?
PowerfulWebsite builds your restaurant's website for free — you only pay from €59/month. Everything is included: a proper digital menu page with your dishes and photos, domain, hosting, maintenance and updates.
See the plans